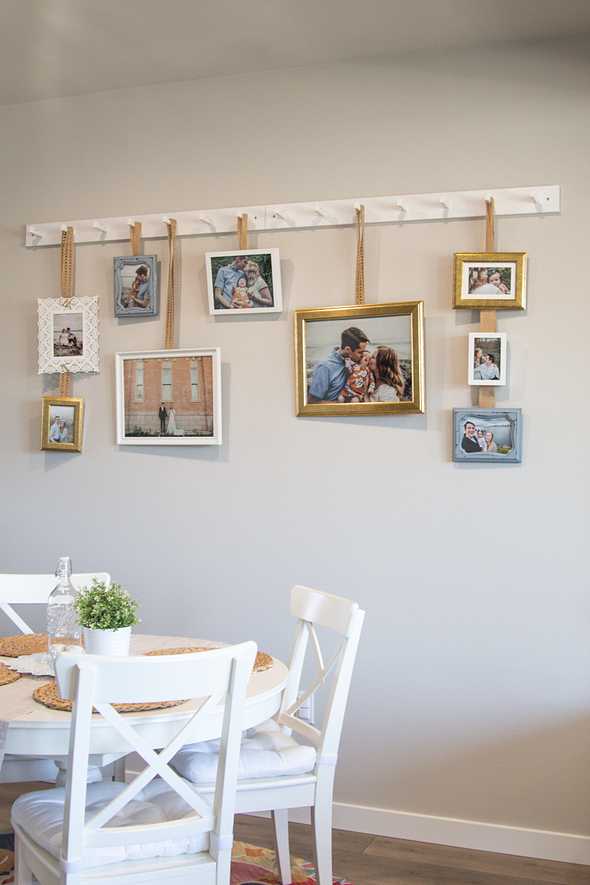
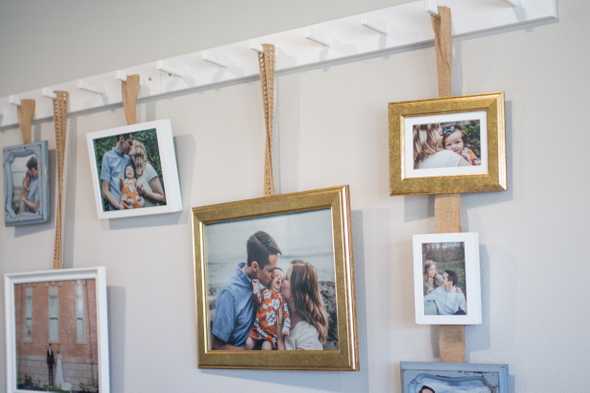
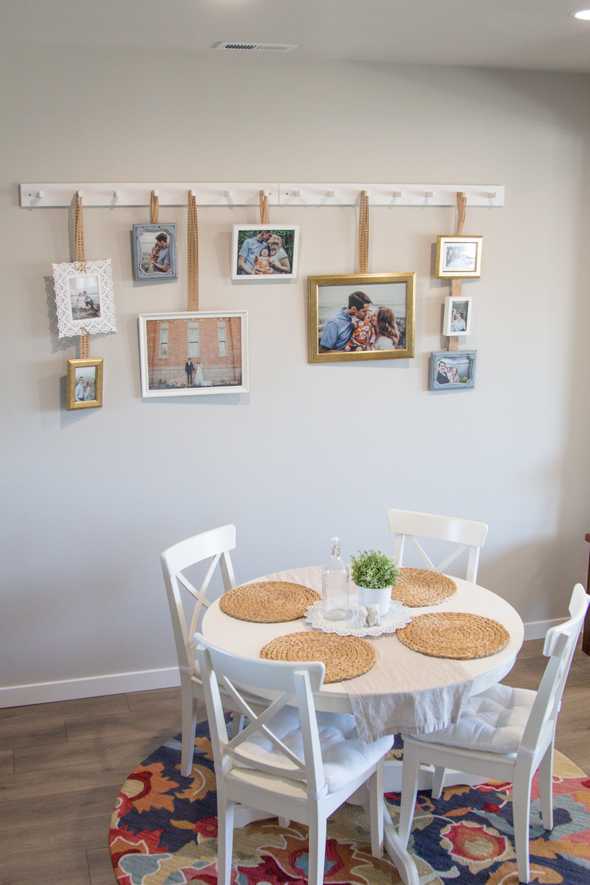
I’m sharing a DIY that I did a few years ago and I’ve loved it so much that I’ve continued to hang it up in both apartments we have lived in and the home we bought last year! It requires only a few things and gives a unique feel to the traditional gallery wall!
THE MATERIALS
- 2 white hanging racks
(I purchased mine from from IKEA and they can be found HERE) - Hardware and power drill to hang the racks
- An assortment of picture frames - with photos of course
(all frames were purchased from IKEA) - Sturdy burlap or jute ribbon that is at least 1.5” wide
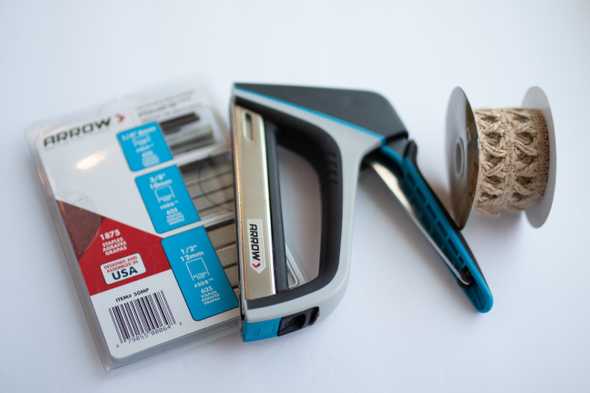
(I purchased mine from Hobby Lobby) - Staple gun
(I purchased one from Home Depot that can be found HERE) - Staples - I used 1/4” 6mm on thinner frames and 3/8” 10mm on the thicker
ones
(I purchased a multi-pack from Home Depot that can be found HERE)
THE PROCESS
Lay the hanging racks and picture frames on the floor to get an idea of how it will look on your wall. Move things around until you like how it looks. Measure how far you want your frames to hang down from the racks. Cut your burlap/jute ribbon accordingly, leaving at least 1.5” extra on each one.
Using a power drill and screws, hang the hanging racks on your wall - be sure to use a level and your measurements from the previous step to insure you hang them high or low enough.
If you haven’t already done so, fill picture frames with your photos.
Load the staple gun with staples (1/4” for thin frames, 3/8” for thicker).
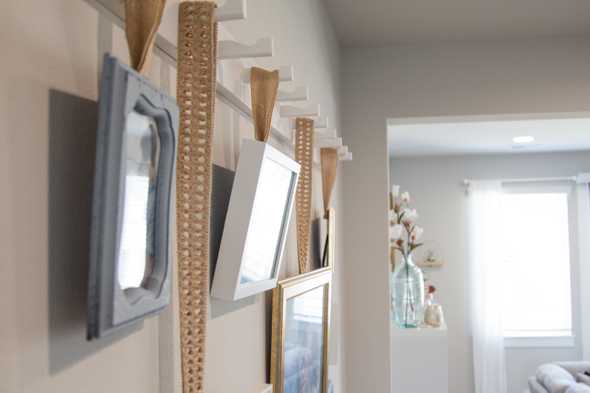
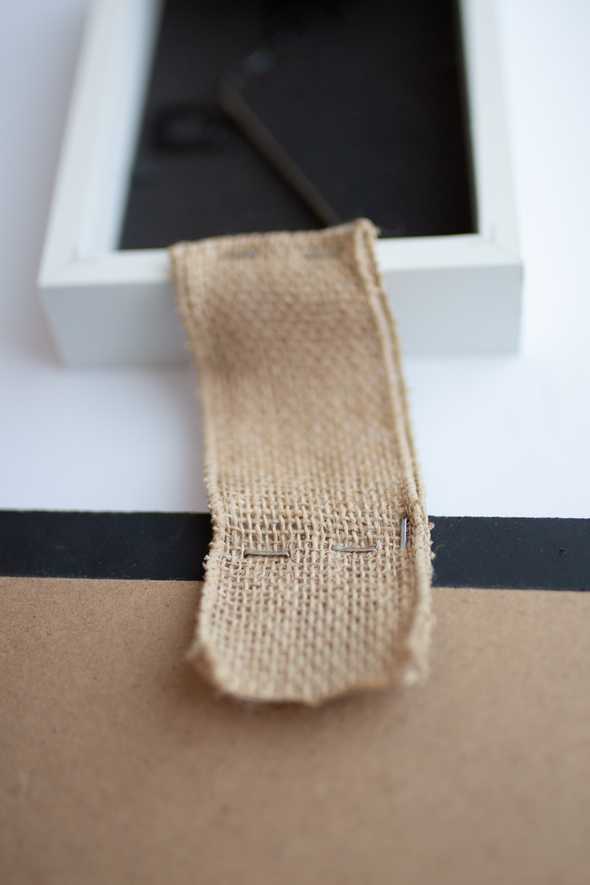
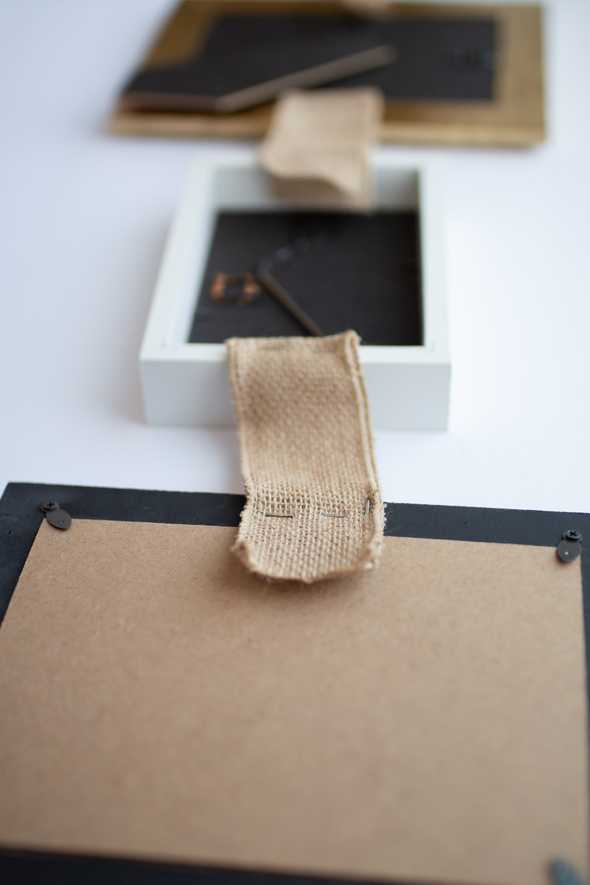
Turn frames over and staple the ribbon to the frame using your staple gun, leaving the extra 1.5” below the staples for stability. On the burlap ribbon I used 2-3 staples and on the jute lattice ribbon I used 5-6.
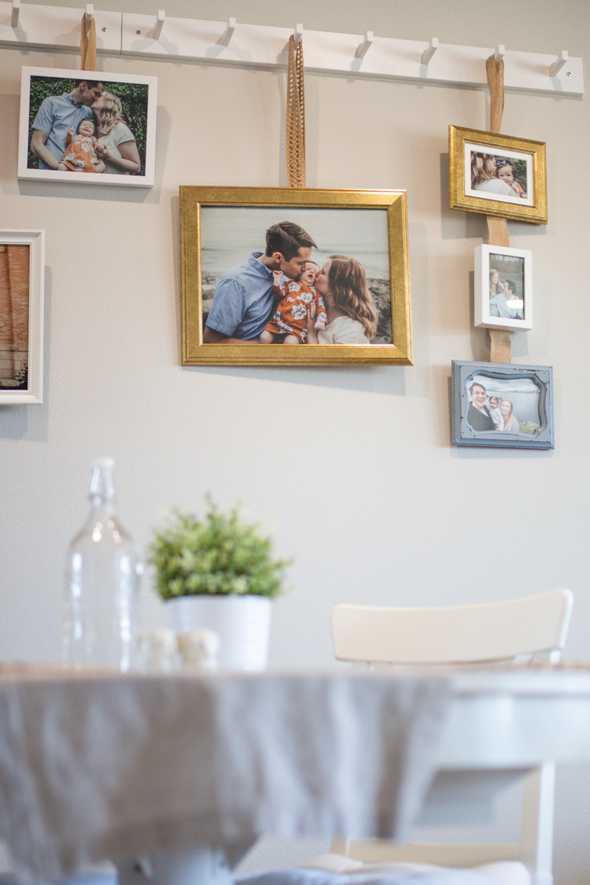
Staple smaller frames together if desired, insuring that each end of the ribbon is securely attached.
Quick note - one of the frames I chose was metal lattice which prevented any stapling. I used medium burlap string to weave it through the frame and around the thicker jute ribbon. It’s not perfect, but it works!
Hang your frames from the racks and enjoy your beautiful hanging gallery wall!
// No affiliate links in this post //
